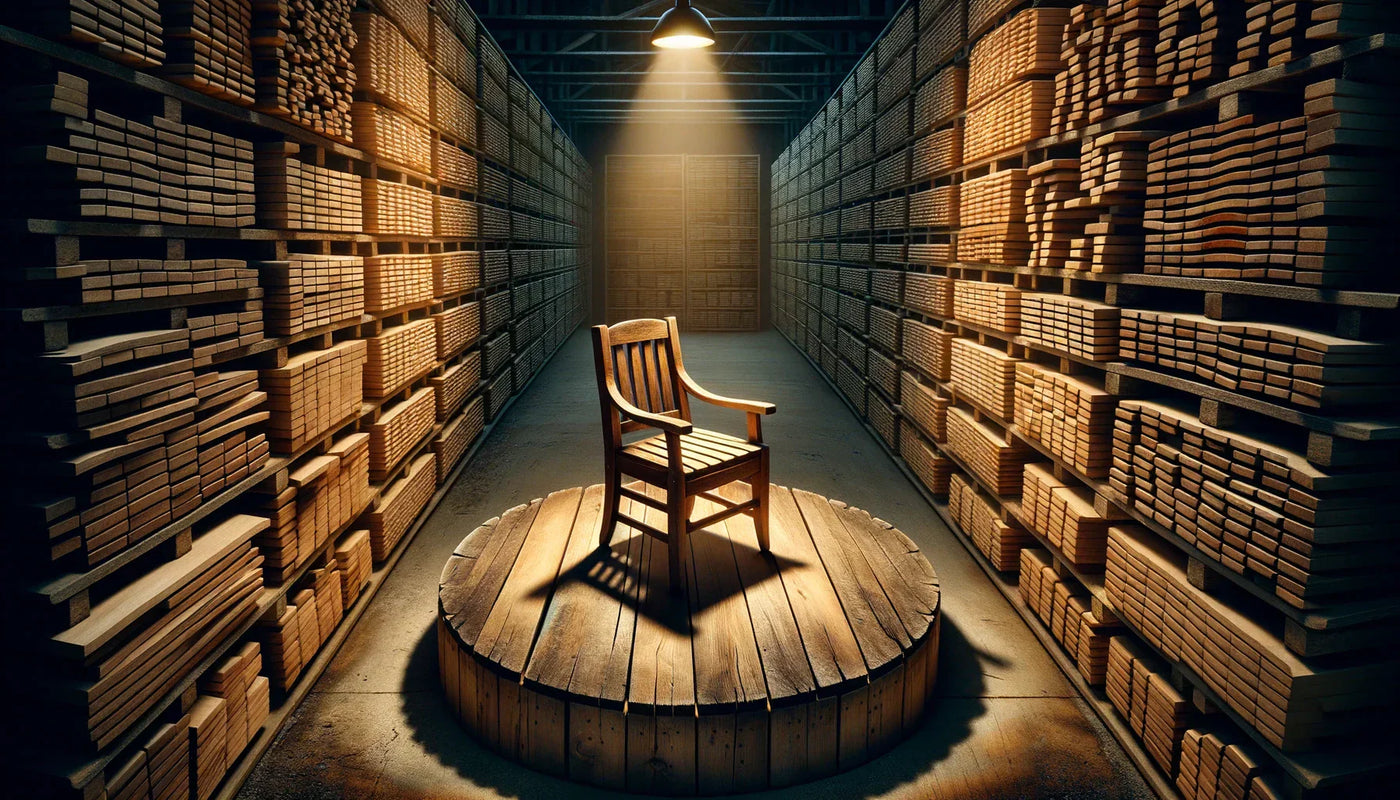
Understanding Wood Moisture Content
Why Moisture Content Matters
Moisture content in wood is a topic that doesn't often come up in casual conversation, but it's crucial for anyone working with wood to understand. Moisture content (MC) is the percentage of water in the wood compared to the dry matter of the wood itself. This measurement is vital because wood is a hygroscopic material, meaning it naturally absorbs and releases moisture from the surrounding environment. The level of moisture in wood affects everything from its weight to its structural integrity.
For those in carpentry, joinery, or any form of woodworking, the MC can be the difference between a successful project and a disaster. If the wood's MC is too high, the wood can warp, shrink, or split as it dries. Conversely, if wood is too dry, it can absorb moisture from the air, causing it to expand and potentially disturb the precise fits necessary for quality craftsmanship.
In the UK, where the weather can be notoriously damp, understanding and controlling wood moisture content is even more critical. Wood used in construction or for making furniture should have a moisture content that matches the eventual environment it will reside in, typically between 8% to 15% for indoor use.
How Moisture Affects Wood
Moisture affects wood in several ways that are important to be aware of:
-
Dimensional Stability: As wood gains or loses moisture, it can change size. This can lead to problems like warping, bowing, or cracking.
-
Durability: Wood that remains damp can become a breeding ground for fungi and other organisms that lead to decay.
-
Strength: The mechanical properties of wood, such as its strength, are impacted by its moisture content. Generally, as wood dries, it becomes stronger and stiffer.
- Finish and Adhesion: Finishes and glues react differently to wood depending on its moisture content. For a quality finish, the wood needs to have a consistent and appropriate MC.
Introduction to Kiln Drying
Definition of Kiln Drying
Kiln drying is a controlled process of removing moisture from wood. By using a kiln, which is essentially a large oven, you can accelerate the drying process by applying heat, controlling humidity, and ensuring proper air circulation. The goal is to bring the wood down to a moisture content that's suitable for its intended use, doing so in a way that minimizes defects and maximizes quality.
Benefits of Kiln Drying Over Air Drying
While air drying is a traditional method that relies on natural air flow and ambient conditions, kiln drying has several advantages that make it preferable in many scenarios:
-
Speed: Kiln drying is significantly faster than air drying. While air drying can take months or even years, kiln drying typically takes days or weeks.
-
Reliability: Because kiln drying is a controlled environment, it provides consistent results. You're less likely to encounter surprises in the form of warping or other defects due to uneven drying.
-
Disinfection: The high temperatures in kiln drying can kill insects and fungi present in the wood, which is not something that can be guaranteed with air drying.
-
Year-Round Drying: Kilns operate independently of the weather, which means wood can be dried any time of year, a particularly important factor in the UK's variable climate.
-
Better End-Use Performance: Kiln-dried wood tends to have fewer problems with paint and finishes, and it's usually preferred for indoor applications where stability and low moisture content are critical.
For individuals and businesses looking to purchase kiln-dried wood, understanding these benefits can help them make informed decisions and ensure the longevity and success of their wood-based projects.
Types of Kilns
When it comes to kiln drying wood, selecting the appropriate type of kiln is crucial. Each type of kiln operates differently and can be more suitable for specific drying needs and scales of operation. Here’s a look at the most common types of kilns used in the wood drying process.
Conventional Kilns
Conventional kilns, also known as steam or heat kilns, are the most widely used kiln type for commercial wood drying. They operate by introducing steam or hot air into the chamber to heat the wood and evaporate the moisture. Here are some key points for conventional kilns:
- Heating System: Typically, they use a boiler to generate steam or a furnace for hot air.
- Air Circulation: Fans are used to circulate the hot air or steam, ensuring even drying.
- Control: Equipped with control systems to regulate temperature and humidity.
- Capacity: Ranges from small-scale to large industrial-sized kilns.
- Efficiency: They can be less energy-efficient compared to newer kiln types due to the way heat is generated and transferred.
Dehumidifier Kilns
Dehumidifier kilns use a refrigeration system to remove moisture from the air inside the kiln, which in turn removes moisture from the wood. This type of kiln is becoming increasingly popular for its energy efficiency and the high quality of the dried wood it produces. Main features include:
- Energy Recovery: As moisture is condensed out of the air, the heat is recycled to warm the kiln.
- Gentle Drying: The lower temperatures used can reduce the risk of defects in the wood.
- Scalability: Available in sizes suitable for both small woodworking shops and larger operations.
- Control: Features precise control over temperature and humidity.
Solar Kilns
For those seeking a more environmentally friendly and cost-effective solution, solar kilns are an excellent choice. These kilns harness the power of the sun to dry wood. Key aspects of solar kilns are:
- Renewable Energy: Utilizes solar energy, which can significantly reduce operational costs.
- Simplicity: Often simpler in design and can be built DIY with the right plans and materials.
- Climate Dependent: Performance can be affected by weather conditions and geographic location.
- Control: Less control over drying conditions compared to conventional or dehumidifier kilns.
Vacuum Kilns
Vacuum kilns dry wood by reducing the atmospheric pressure around the wood, which lowers the boiling point of water and allows moisture to evaporate at lower temperatures. They are known for their rapid drying times and high-quality results. Some characteristics of vacuum kilns are:
- Speed: Can dry wood much faster than traditional methods.
- Quality: Lowers the chance of cracking and warping due to the gentle drying process.
- Energy Consumption: Tends to be higher than other kilns, but the faster turnaround can offset the energy costs.
- Investment: Typically more expensive to purchase and maintain than other types of kilns.
Preparing Wood for Kiln Drying
Getting the wood ready for the kiln is a critical step in the drying process. Proper preparation ensures optimal drying and quality of the final product. Here are some guidelines for preparing wood for kiln drying:
Selecting the Right Wood
Wood should be chosen based on its intended use and species-specific characteristics. For example, some woods are more prone to warping and will need more care during the drying process. Consider these factors:
- Species: Each species has different drying rates and properties.
- Initial Moisture Content: Wood with a lower initial moisture content can be dried more quickly and evenly.
- Defects: Check for knots, splits, or other defects that might affect drying.
Pre-Kiln Treatment
Treatment before kiln drying can include processes like debarking, which can help prevent insect infestation and mold growth. Additionally, some woods may benefit from pre-steaming to equalize moisture content and reduce tension in the lumber.
Sizing and Stacking for Optimal Drying
The size and stacking of lumber are essential to ensure uniform drying. It's important to:
- Cut to Uniform Thickness: This helps ensure that all pieces dry at the same rate.
- Proper Stacking: Use stickers (spacers) between boards to allow air to circulate around all sides.
- Weighting the Stack: Place weights on top to help prevent warping.
When considering kiln drying wood, you should also keep in mind the energy efficiency of the drying process and how it compares to air drying. Each type of kiln has its own set of advantages and limitations, and the right choice will depend on your specific needs, from the scale of your operation to the types of wood you are drying.
The Kiln Drying Process Explained
When it comes to drying wood effectively and efficiently, the kiln drying process is a cornerstone technique used by professionals and hobbyists alike. This method not only speeds up the drying time but also enhances the quality and durability of the wood. Below is a comprehensive breakdown of how the kiln drying process unfolds, from start to finish.
Step-by-Step Process Overview
-
Loading the Kiln: The first step is to load the kiln with wood that has been properly prepared. This wood should be sorted by species and thickness to ensure even drying. It's usually stacked on stickers, which are small strips of wood that allow air to flow between the layers.
-
Setting the Kiln Conditions: Before starting the kiln, the desired temperature and humidity levels must be set. These conditions vary depending on the type of wood and its initial moisture content.
-
Ramp-Up Phase: The kiln slowly ramps up to the target temperature. This gradual increase helps avoid stressing the wood and causing defects.
-
Equalizing and Conditioning: The wood is then held at high temperatures and humidity to equalize the moisture content throughout each piece. Conditioning is the final step, which involves introducing steam or water to relieve internal stresses in the wood.
-
Cooling Down: After the wood has reached the desired moisture content, the kiln is slowly cooled down to avoid any sudden changes that might induce stress.
-
Unloading the Kiln: Once the wood has cooled and settled, it can be removed from the kiln, inspected for quality, and stored or used in subsequent manufacturing processes.
Controlling Humidity and Temperature
To achieve optimal results, the kiln's environment must be meticulously controlled. Here's how professionals manage these crucial factors:
-
Temperature: The kiln's temperature is typically between 65°C and 90°C, depending on the wood species and the desired drying speed. Hardwoods generally require lower temperatures than softwoods.
-
Humidity: A kiln's relative humidity (RH) is adjusted throughout the drying process to match the moisture content of the wood. Lowering the RH causes the wood to dry, while increasing it slows down the drying process.
-
Venting: Excess moisture is vented out of the kiln to aid in the drying process. This is done through a system of vents and fans which are controlled based on the kiln's humidity levels.
Controlling these conditions is key to preventing defects and ensuring the wood dries uniformly. For a more in-depth analysis of temperature control, you can read our article on Temperature Control in Kiln Drying.
Monitoring Wood During the Drying Process
Monitoring the wood throughout the drying process is critical to achieving the desired results. Here’s what that monitoring typically involves:
-
Moisture Meters: These devices are used to measure the wood's moisture content at various stages. They help determine when the wood has reached the target moisture level.
-
Kiln Samples: Samples of wood, called kiln samples, are often taken from the load and weighed at intervals to gauge the rate of moisture loss.
-
Observation: Visual inspections are conducted to check for any signs of warping, cracking, or other defects that might indicate drying issues.
- Data Logging: Many modern kilns come equipped with data loggers that record temperature, humidity, and other conditions throughout the drying process.
Regular monitoring helps in making adjustments to the kiln settings as needed and ensures that the wood is drying as expected. For those interested in learning more about the importance of monitoring moisture content, our detailed guide on Monitoring Moisture during Kiln Drying is a valuable resource.
Troubleshooting Common Issues
Even with careful monitoring and control, issues can arise during the kiln drying process. Understanding these problems and knowing how to address them is essential for anyone working with wood.
Understanding and Preventing Wood Defects
Common defects that can occur during kiln drying include:
-
Checks and Splits: These are cracks that occur when the wood dries too quickly.
-
Warping: This occurs when different parts of the wood dry at different rates.
-
Honeycombing: Internal checks that aren't visible on the surface but can compromise the wood's structural integrity.
To prevent these defects, the kiln operator must:
-
Adjust the Drying Schedule: Modifying the temperature and humidity settings can help control the drying rate.
-
Ensure Even Airflow: Proper sticker placement and load arrangement will promote uniform drying.
-
Condition the Wood Properly: Conditioning at the end of the drying cycle helps relieve stress and reduce the likelihood of defects.
For an in-depth look at avoiding common kiln drying defects, check out our article on Avoiding Kiln Drying Defects.
How to Adjust the Process When Problems Occur
When defects are detected, here are steps to take:
-
Pause and Assess: Stop the kiln to prevent further damage and assess the extent of the issue.
-
Modify the Kiln Environment: Adjust the temperature and humidity based on the specific problem encountered.
-
Recondition if Necessary: If severe defects are found, reconditioning may be required to salvage the wood.
- Consult a Professional: Sometimes, the best course of action is to seek the advice of a seasoned kiln operator or wood drying specialist.
Understanding the intricacies of the kiln drying process and how to troubleshoot issues is vital for anyone looking to explore this method of wood drying. Whether you're a seasoned professional or just starting out, a solid grasp of these principles will ensure the highest quality dried wood for your projects.
After the Kiln: Conditioning and Storing Wood
Once you've completed the kiln drying process, the journey for your wood isn't over yet. There are a couple of crucial steps to follow to ensure your wood is in the best condition for its final use. Let's take a deep dive into the nuances of conditioning and storing kiln-dried wood.
Acclimatizing Wood Post-Drying
After your wood has been kiln-dried, it needs time to acclimatize to its new environment. This step is essential to balance the internal and external moisture content, stabilizing the wood and minimizing the risk of post-kiln warping or cracking.
Why Is Acclimatization Important?
- Equilibrium Moisture Content (EMC): Wood will naturally seek to achieve a moisture content that is in equilibrium with its surroundings. This is known as EMC.
- Minimize Stress: Rapid changes in moisture content can stress wood, leading to distortion. Acclimatization allows this adjustment to occur gradually.
- Adaptation to Final Environment: The conditions inside a kiln are quite different from those in homes or other structures where the wood will be used.
How to Acclimatize Kiln-Dried Wood:
- Allow the wood to rest in a controlled environment similar to where it will be used.
- Protect the wood from direct sunlight and heat sources that could cause uneven drying.
- Give it several days to weeks, depending on the thickness and type of wood, to adjust.
Best Practices for Storing Dried Wood
Storing your kiln-dried wood correctly is just as critical as the drying process itself. Poor storage can undo all your hard work, so here are some best practices to keep in mind:
Environment:
- Humidity Control: Maintain stable humidity levels to prevent the wood from absorbing moisture.
- Temperature: Store the wood in a cool, dry place, avoiding extreme temperatures that could affect the wood's moisture content.
- Ventilation: Ensure good airflow around the wood to avoid mold and mildew growth.
Physical Storage:
- Off the Ground: Keep wood off the ground using pallets or racking to prevent moisture from the floor affecting the wood.
- Covering: Protect the wood from dust and debris with breathable materials, such as canvas tarps.
- Spacing: Allow space between boards to enable air circulation.
Getting Started with Kiln Drying
So you're convinced of the benefits of kiln drying and are considering taking the plunge. Here's what you need to think about before getting started.
Evaluating Costs and Equipment Needs
The initial investment in kiln drying can be significant, but the long-term benefits often outweigh the costs.
Considerations for Cost Evaluation:
- Type of Kiln: The cost will vary depending on the type of kiln you choose (e.g., conventional, dehumidifier, solar, or vacuum).
- Size: Larger kilns are more expensive but can dry more wood at once.
- Energy Efficiency: More efficient kilns may cost more upfront but can save you money in the long run.
Equipment Needs:
- Moisture Meters: Essential for monitoring the wood's moisture content.
- Temperature and Humidity Controls: Crucial for maintaining the right conditions inside the kiln.
- Fans and Ventilation: Needed to circulate air and regulate humidity.
Kiln Drying as a Business Opportunity
Kiln drying isn't just for personal use—it can be a lucrative business venture. With the increasing demand for quality, kiln-dried wood in industries ranging from furniture making to construction, there's potential for profit.
Business Planning:
- Market Research: It's important to understand the demand in your area for kiln-dried wood.
- Business Model: Will you focus on custom drying for clients, or produce and sell your own wood?
- Marketing: Develop a strategy to reach your target customers. Consider showcasing your products on platforms like HSWF's collection of kiln-dried wood.
Resources and Further Reading for Beginners
If you're new to kiln drying, it's crucial to arm yourself with knowledge. Here are some resources to get you started:
- Books and Guides: Look for comprehensive guides that cover the technical aspects of kiln drying wood.
- Online Forums and Communities: Engage with experienced professionals who can offer advice and answer questions.
- Workshops and Courses: Hands-on learning can be invaluable, so consider attending workshops on kiln drying.
- Blogs and Articles: Stay updated with industry insights and tips by reading blogs like those on HSWF, which cover topics such as temperature control in kiln drying and monitoring moisture during the kiln process.
By following these steps and continually educating yourself, you can ensure that your kiln-dried wood is of the highest quality, whether for personal projects or as a commercial venture. Remember, patience and attention to detail are key in the world of wood drying.