Understanding Kiln Drying
What is Kiln Drying?
Kiln drying is a controlled process of reducing the moisture content in wood. A kiln is essentially a large oven used for drying wood and can vary in size from small cabinets to large rooms. During the process, wood is placed inside the kiln where the temperature, humidity, and airflow are regulated to draw moisture out of the timber. This method is much faster than air drying and can be completed in days or weeks rather than months or years.
Benefits of Kiln Drying for Wood
Kiln-dried wood has several advantages over air-dried or green wood, particularly for woodworking projects:
- Stability: Kiln drying wood reduces the risk of changes in the wood when it is used in various climates. This stability is crucial for furniture and cabinetry.
- Reduced Bug Infestations: The high temperatures in a kiln can kill insects and larvae, which can be a problem in air-dried wood.
- Improved Workability: Dry wood is easier to cut, shape, and sand. It also accepts adhesives and finishes better than wood with higher moisture content.
- Time-Efficient: Kiln drying is faster, allowing woodworkers to complete projects more quickly and lumber suppliers to turn their inventory faster.
- Consistency: The controlled environment of a kiln ensures a more consistent level of dryness throughout the wood, which is important for quality.
Kiln Drying vs. Air Drying
While kiln drying is efficient and offers many benefits, air drying has its place in the lumber industry. Air drying is a natural process that costs less because it doesn't require energy for heating. However, air-dried wood typically retains a higher moisture content and is subject to the whims of the weather, which can introduce variable results.
Kiln Drying:
- Faster process.
- More control over final moisture content.
- Reduces the likelihood of defect occurrences.
Air Drying:
- Less costly, energy-wise.
- Can be more environmentally friendly.
- Takes longer and results can be less predictable.
The Basics of Wood Selection for Kiln Drying
Hardwood vs. Softwood
Wood is generally classified into two main types: hardwood and softwood. This classification is not about the density or hardness of the wood but relates to the tree species the wood comes from.
- Hardwood comes from deciduous trees which shed their leaves annually. Examples include oak, ash, and cherry. They generally have a slower growth rate, which often results in denser wood with a more complex grain pattern.
- Softwood comes from coniferous trees which retain their needles throughout the year. Examples include pine, cedar, and spruce. They grow faster, and the wood is often lighter and less dense.
When considering kiln drying, both types can be dried in a kiln, but they may require different settings due to differences in density and moisture content.
Wood Grain and Texture Considerations
Grain and texture are also important when selecting wood for kiln drying. Grain refers to the direction, size, appearance, and quality of the wood fibers. Texture is the wood's surface feel and appearance. Some woods with very fine grains and textures, like maple, might require specific kiln drying procedures to prevent warping or cracking.
Moisture Content and Wood Species
The moisture content (MC) in wood must be carefully considered. MC is the weight of water in wood as a percentage of the weight of the dry wood. Each species has an optimal moisture content for its intended use. Generally, for woodworking, the desired moisture content is around 6-8%. It's crucial to select wood species that can reach and maintain this MC without degrading in quality.
To explore a variety of kiln-dried wood options perfect for your next project, be sure to check out the extensive collection at Hardwood Selection for quality materials that have been carefully processed for optimal results.
By understanding these aspects of kiln drying and wood selection, woodworkers and hobbyists can ensure that they choose the best wood for their projects, leading to beautiful, durable, and stable end products.
Factors Influencing Wood Suitability for Kiln Drying
When it comes to kiln drying, not all wood is created equal. The suitability of wood for kiln drying is determined by a variety of factors that need to be carefully considered before the process begins. Understanding these factors ensures that the lumber you select for your project won't just look good but will maintain its integrity throughout its lifespan.
Thickness of the Lumber
The thickness of your lumber is a critical factor because it directly affects the drying time and the evenness of the moisture removal. Thicker pieces of wood take longer to dry and are more prone to issues like cracking if not dried correctly. Here’s a quick guide:
- 1 inch (25mm) thickness: Typically used for most furniture projects, ideal for kiln drying as it offers a good balance between drying time and structural integrity.
- 2 inches (50mm) and above: Used for more substantial furniture pieces, beams, and other structural elements. These require a longer drying time and a more delicate approach to prevent warping and cracking.
Initial Moisture Levels
The initial moisture levels in your wood are a primary consideration before kiln drying. Wood that has been freshly cut, known as "green" wood, can have a moisture content of 100% or more (relative to its dry weight). Properly assessing the initial moisture levels will guide the kiln drying process, ensuring that you apply the correct temperature and duration to achieve optimal results. Kiln operators often use a moisture meter to gauge these levels accurately.
Species Susceptibility to Warping and Cracking
Different species of wood have varying reactions to the kiln drying process. Some species are more prone to warping and cracking, while others are more stable. For example, oak is notorious for its susceptibility to movement during drying, while maple can be less problematic. It's essential to understand your wood species’ tendencies to ensure a successful kiln drying process.
Preparing Wood for the Kiln
Before wood enters the kiln, it needs to be adequately prepared to ensure the drying process is efficient and the wood isn't damaged. This preparation is a meticulous process that can pay off in the quality and longevity of the final product.
Assessing Wood Quality
Not all pieces of lumber are suitable for kiln drying. Wood should be inspected for any defects, such as large knots, splits, or signs of decay, as these can exacerbate during drying. Selecting high-quality wood without significant imperfections is crucial for the best outcomes.
Cutting and Stacking for Optimal Drying
How wood is cut and stacked plays a role in the effectiveness of kiln drying. Lumber should be cut to uniform dimensions to promote even drying. Stacking should allow for ample air circulation around each piece of wood. Proper stacking involves:
- Stickers: Small pieces of wood placed between the layers of lumber to ensure consistent airflow.
- Alignment: Ensuring that each layer is stacked neatly and the stickers are aligned vertically to prevent uneven drying and warping.
Monitoring Moisture Content Before Kiln Drying
It's essential to consistently monitor the moisture content of your wood before it enters the kiln. This establishes a baseline for the drying process and helps to determine the necessary time and conditions required for drying. Wood with too high initial moisture content may need to be air-dried first to bring it down to a level suitable for kiln drying.
By considering these factors and preparing your wood accordingly, you set the stage for a successful kiln drying process. Properly dried wood will not only work better but will also stand the test of time, making your woodworking projects more durable and enjoyable for years to come. For more information on how to prepare and select wood for kiln drying, you might find our kiln drying lumber wood types blog post useful, as well as the dedicated articles on kiln drying hardwoods and kiln drying softwoods.
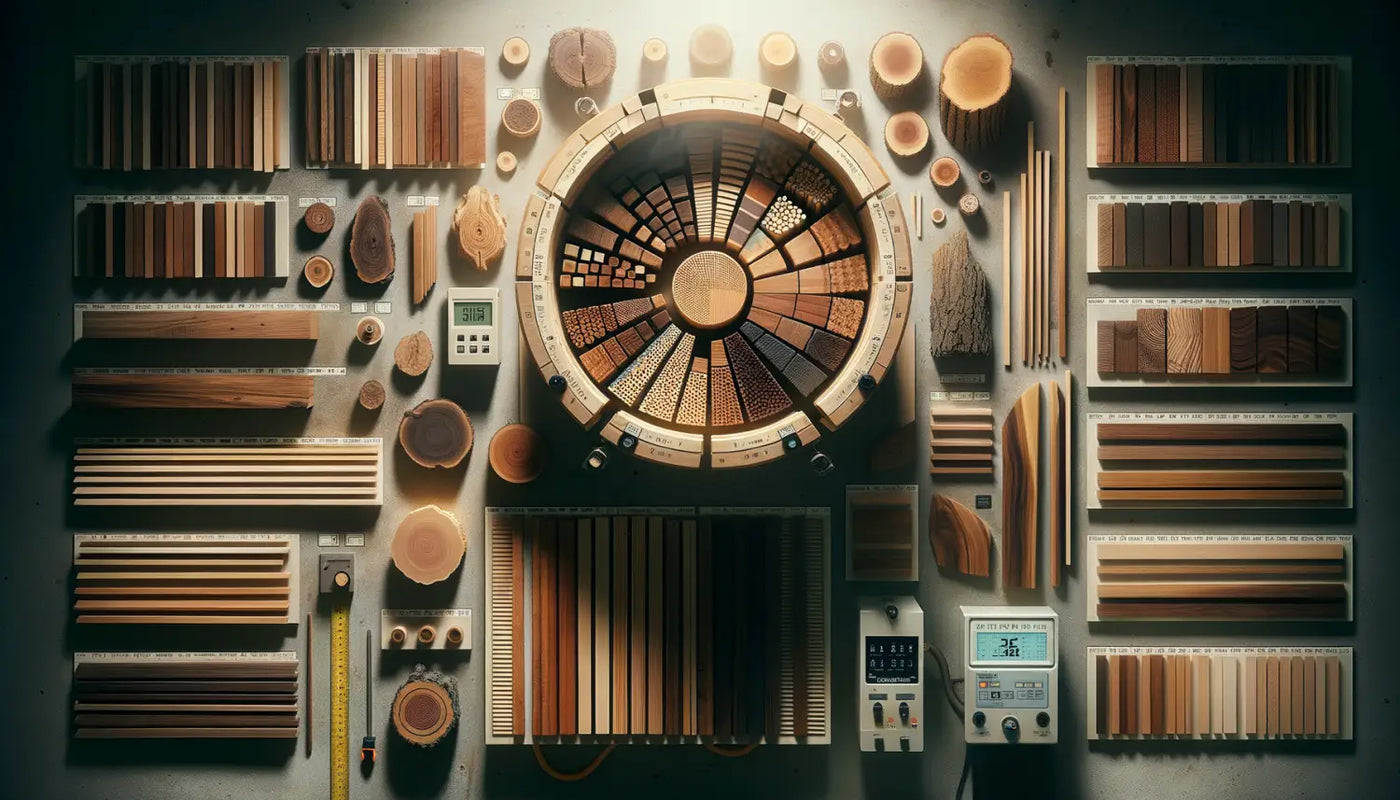
Types of Wood Ideal for Kiln Drying
When it comes to kiln drying, not all woods are created equal. Some species dry well and maintain their structural integrity, while others are more prone to issues such as warping or cracking. Understanding which types of wood are best suited for kiln drying can save you time, money, and disappointment.
Popular Hardwood Choices
Hardwoods are often preferred for their durability and the variety of finishes that can be applied to them. Here are some popular hardwoods that respond well to kiln drying:
- Oak: Known for its strength and appealing grain pattern, oak is a classic choice that dries well in a kiln. It's commonly used for furniture and flooring. Oak can be found on HSWF's collection of hardwood ash logs.
- Maple: With its light color and even grain, maple is popular for interior designs and often used for kitchen accessories and cabinets. It can also be easily stained or painted. More about its kiln drying process can be found on Kiln Drying Maple.
- Cherry: Cherished for its rich, warm color and smooth grain, cherry wood is a favorite for high-end furniture. It requires careful kiln drying to prevent color changes and cracking.
- Walnut: Valued for its deep, chocolate brown color and strength, walnut is ideal for crafting fine furniture and decorative items. It kiln dries well, retaining its beauty and workability.
Best Softwoods for Kiln Drying
Softwoods generally dry faster and are easier to work with compared to hardwoods. They are often used in construction, framing, and outdoor applications. Here are a few softwoods that perform well when kiln dried:
- Pine: This lightweight and affordable softwood is versatile and widely used. It needs to be kiln dried carefully to minimize resin exudation. Pine's kiln drying details can be accessed through Kiln Drying Pine.
- Cedar: Cedar is known for its natural resistance to rot and insects, making it great for outdoor use. It has a pleasant aroma and a rustic appearance that's popular for paneling and closets.
- Spruce: This strong yet lightweight wood is commonly used in construction. It dries quickly and well in a kiln, making it a good choice for many projects.
Woods to Avoid in Kiln Drying
While many woods can benefit from kiln drying, there are species that do not tolerate the process as well. These woods may be more prone to warping, cracking, or other forms of degradation when exposed to the high heat of a kiln:
- Hickory: Prone to high levels of stress during the drying process, hickory can warp or split if not handled with care.
- Beech: Beech tends to warp and requires close attention to drying schedules to avoid damage.
- Birch: Although beautiful, birch can be challenging to dry without defects due to its susceptibility to cracking and color changes.
Techniques for Enhancing Kiln Drying Outcomes
Getting the best results from kiln drying involves more than just choosing the right wood. Here are techniques that can help enhance the kiln drying outcomes:
Controlling Kiln Temperature and Humidity
Properly controlling the temperature and humidity within the kiln is critical. Each species of wood has an optimum drying temperature and humidity level that must be adhered to for best results:
- Start with lower temperatures and gradually increase to avoid shocking the wood.
- Maintain relative humidity to minimize the moisture gradient within the wood, preventing cracking and splitting.
Timing and Duration of the Kiln Drying Process
The timing and duration of the kiln drying process are highly dependent on the thickness of the lumber and the initial moisture content. Thicker and wetter lumber will need a longer drying time. It's important to follow a kiln schedule specific to the wood species and size.
- Carefully monitor the progress and adjust the schedule as needed.
- Avoid the temptation to rush the process, which can lead to defects.
Post-Kiln Drying Treatments
After the wood has been dried, there are treatments that can help stabilize and prepare it for use:
- Conditioning: This process involves adding a bit of moisture back into the wood to relieve stress and equalize moisture content.
- Resting: Allowing the wood to rest after drying helps it acclimate to the ambient moisture levels, reducing the likelihood of future movement.
By selecting the appropriate species of wood and applying these careful techniques, you can ensure that your kiln-dried wood will be of the highest quality, ready for a wide range of woodworking projects. Whether you're looking for materials for your next piece of furniture or for Swedish fire logs, the proper application of kiln drying can make all the difference.
Working with Kiln-Dried Wood
When you've selected the right wood and passed it through the meticulous process of kiln drying, you're ready to work with a material that offers stability and beauty for your woodworking projects. Kiln-dried wood is revered for its low moisture content, which makes it less prone to warping, shrinking, and cracking compared to wood that hasn't been thoroughly dried.
Finishing Kiln-Dried Wood
The finishing of kiln-dried wood is a crucial step in woodworking. It not only protects the wood but also enhances its natural beauty. Here are some tips to achieve the best finish:
-
Sanding: Start with a rougher grit sandpaper and work your way up to finer grits. This will smooth the surface and prepare it for finishing. Remember to always sand along the grain to avoid scratches that go against the natural pattern of the wood.
-
Cleaning: Before applying any finish, clean the wood thoroughly to remove any dust from sanding. A tack cloth is useful for picking up the fine dust particles.
-
Sealing: Some woodworkers apply a sanding sealer to seal the wood grain, which can help achieve a more even finish, particularly on porous woods.
-
Choosing Your Finish: There are various finishes available such as oils, varnishes, and lacquers. Each has its own method of application and desired effect on the wood. For instance, oil finishes can enhance the natural grain of the wood, while lacquers provide a durable, glossy coating.
-
Application: Follow the manufacturer's instructions for your chosen finish. Apply thin coats and allow adequate drying time between each layer. This helps to build a strong layer of protection and a professional-looking finish.
-
Buffing: After the final coat has dried, buffing the wood can add an extra level of shine and smoothness.
Storing Kiln-Dried Wood
Proper storage of kiln-dried wood is important to maintain its low moisture content and prevent any future issues:
-
Environment: Store the wood in a dry, stable environment to prevent reabsorption of moisture. Fluctuations in humidity and temperature can be detrimental.
-
Spacing: Leave some space between each board and stack them horizontally on a flat surface to prevent warping. Using stickers (thin strips of wood) between layers of wood can also help air circulate and keep the wood flat.
-
Covering: If you're storing the wood for an extended period, consider covering it with a breathable material to protect it from dust without trapping moisture.
Woodworking with Kiln-Dried Wood – Tips and Tricks
Kiln-dried wood is a pleasure to work with due to its stability and predictability. Here are some tips for getting the best results in your woodworking:
-
Acclimatization: Allow the wood to acclimate to your workshop's environment for a few days before starting your project. This helps the wood adjust to any minor differences in humidity and temperature.
-
Precision Cutting: Kiln-dried wood is less prone to movement, so take advantage of this by making precise cuts. Double-check your measurements to ensure a perfect fit.
-
Joinery: Due to the stability of kiln-dried wood, it's an excellent candidate for joinery. Techniques like dovetailing or mortise-and-tenon joints will hold together well.
-
Gluing: Use high-quality adhesives and ensure that surfaces to be glued are perfectly flat and smooth for the best bond.
-
Tool Care: Keep your cutting tools sharp. Kiln-dried wood is harder on blades and bits, so maintaining sharpness is key to preventing burning and ensuring clean cuts.
By following these guidelines, you can make the most of your kiln-dried wood, creating pieces that are not only beautiful but also structurally sound and durable. For additional insights on working with specific types of kiln-dried woods, such as the hardwood ash logs or understanding the nuances of kiln-drying oak, explore our in-depth articles that cover these topics in detail.